
Learning how to draw French tip nails at home can be much easier when you choose the right technique for your skill level. The classic French manicure is known for its clean base and contrasting tip, but you don’t have to stick with one traditional method. Nail guides, thin brushes, dotting tools, stickers, and simple household techniques can all help create cleaner lines.
The key is working with manageable amounts of polish and allowing each layer to settle before adding the next. These 23 French tip nail ideas range from simple beginner techniques to creative variations using different shapes, colors, finishes, and decorative details. Start with the method that feels easiest, then experiment as your confidence improves.
Classic White French Tip
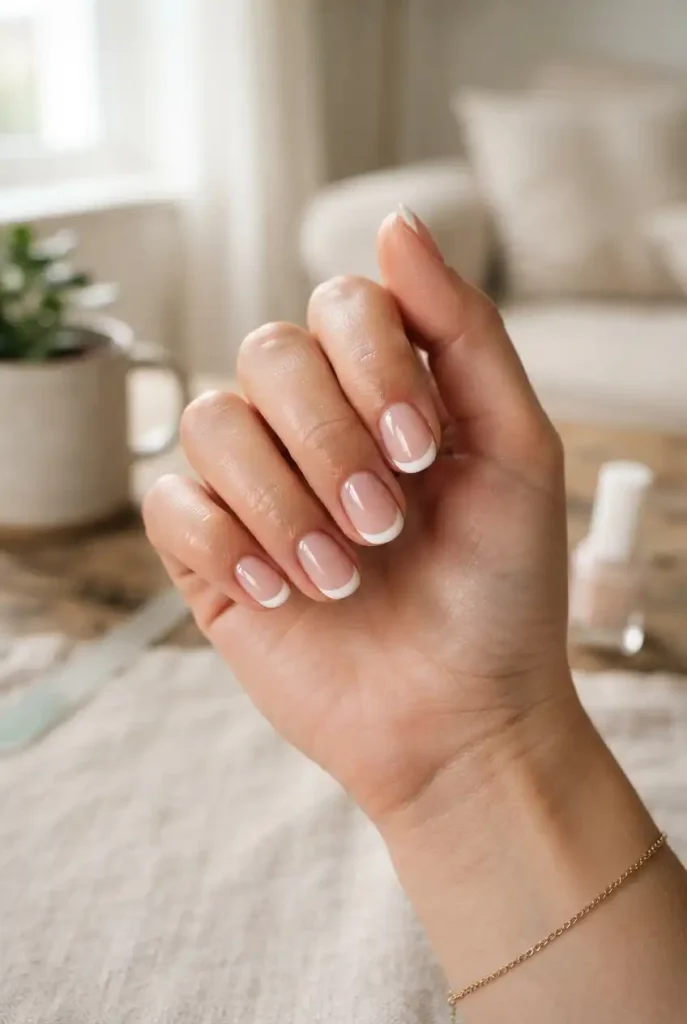
The traditional French tip is the best place to begin. Apply a sheer pink, nude, or milky base and let it dry thoroughly. Use a thin nail-art brush to create a curved white line across each free edge, then fill in the tip.
Keep the curve similar on every nail rather than trying to make it extremely deep. A thinner French tip can also be easier for beginners because small imperfections are less noticeable.
Use a Thin Nail-Art Brush

A thin nail-art brush gives you more control than a standard polish brush. Dip just the tip of the brush into white polish and draw the smile line gradually rather than attempting the entire curve in one movement.
Rest your painting hand on a stable surface to reduce shaking. You can also create several tiny strokes that connect smoothly instead of forcing one continuous line.
Try the Dotting-Tool Method

A dotting tool can help beginners create an even curved tip without relying entirely on brush control. Place small dots of white polish along the edge of the nail, then connect them carefully with a thin brush.
This method is especially useful if your hands tend to shake when drawing long lines. Work slowly and use less polish than you think you need.
Make French Tips With Nail Tip Guides

Adhesive nail guides are one of the easiest options for beginners. Apply the guide slightly below the nail’s free edge, making sure both sides are firmly attached. Paint the exposed tip and remove the guide while the polish is still workable.
Wait until the base coat is properly dry before applying the guide. Otherwise, removing it may disturb the underlying color.
Paint the Tip From Side to Side
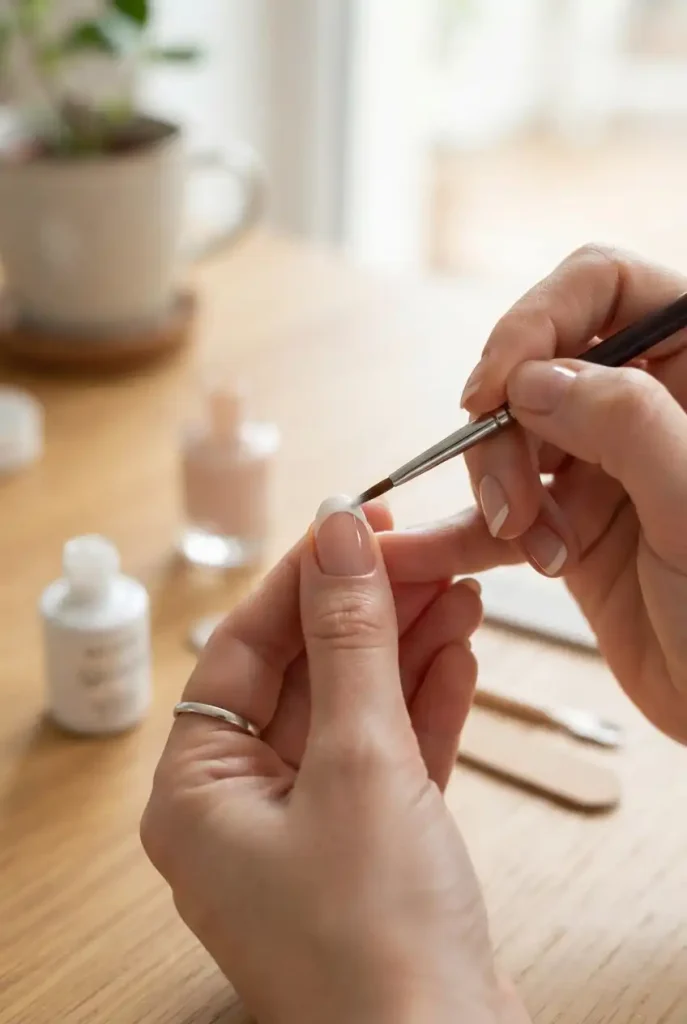
Instead of drawing one long smile line, paint from one side of the nail toward the center, then repeat from the other side. Meet the two strokes in the middle.
This approach makes it easier to control the shape and thickness of the tip. It also gives you an opportunity to correct one side before finishing the other.
Create Micro French Tips
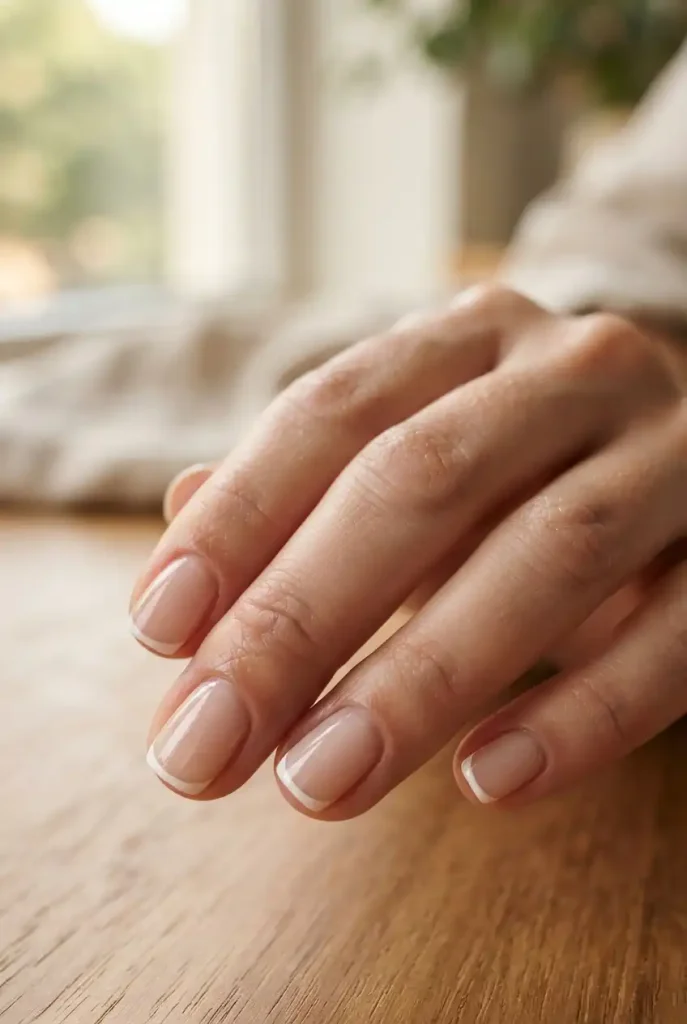
Micro French tips use a very narrow line of contrasting polish along the nail edge. They’re a great choice when you want a subtle manicure or find thicker French tips difficult to control.
Use a very fine brush and concentrate on keeping the line consistent. A sheer nude base works particularly well with this minimal approach.
Try a Deep French Tip
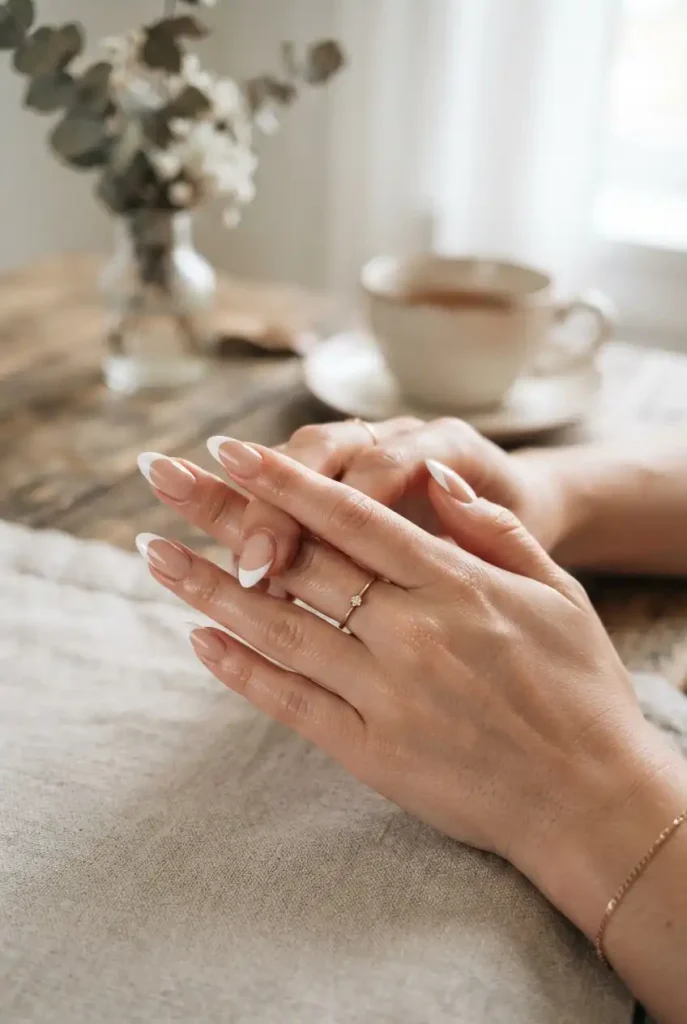
A deep French tip extends farther down the nail than a micro or classic tip. It creates a more noticeable smile curve and works especially well on longer nails.
For a balanced result, keep the deepest part of the curve centered on the nail. You can use a guide if you’re still learning to control the shape.
Draw French Tips on Short Nails

Short nails can look polished with a narrow French tip. Avoid making the white section too wide because it can visually shorten the nail further.
A slim curved line following the natural edge gives short nails a neat, elongated appearance without requiring extra length.
Use a Milky Base
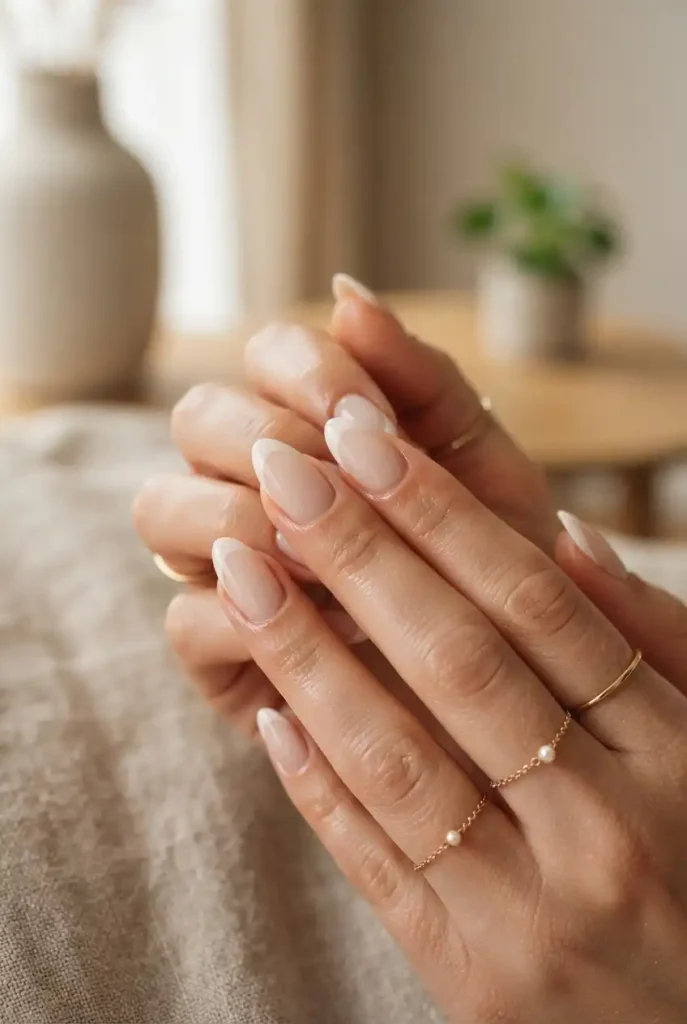
A milky white or translucent neutral base creates a softer version of the French manicure. Instead of a strong pink-and-white contrast, the colors blend gently while the tip remains visible.
This is forgiving for beginners because minor variations in the base color are less obvious.
Try a Rounded French Tip
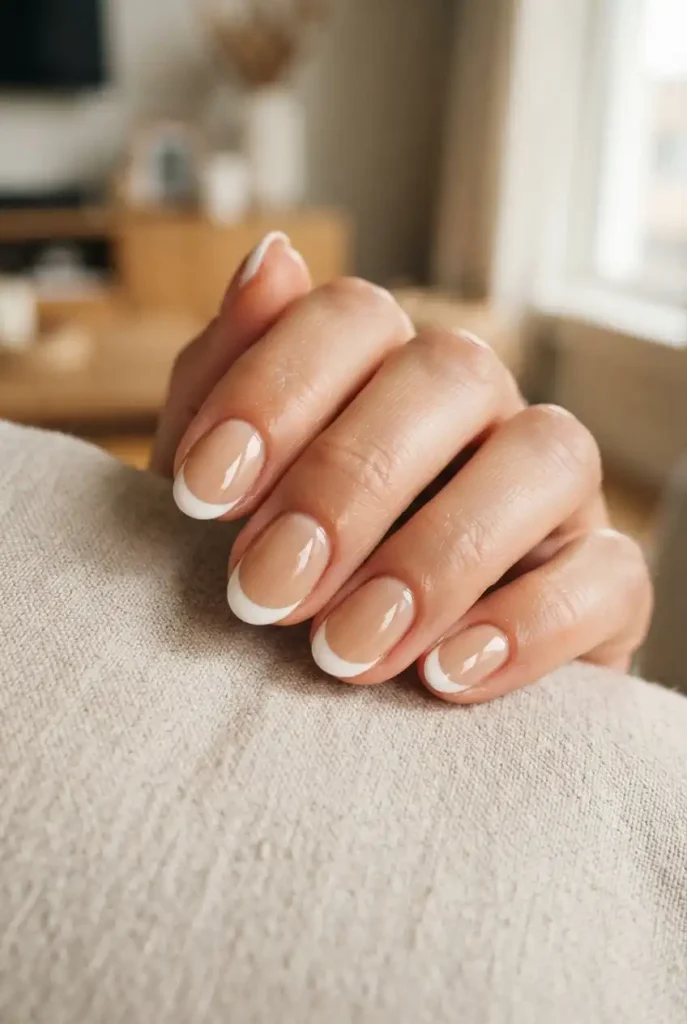
A rounded French tip follows the natural curve of the nail and gives the manicure a softer appearance. Rather than creating sharp corners at the sidewalls, sweep the polish into a smooth arc.
This technique pairs naturally with round, oval, and almond nail shapes.
Create a Straight French Tip
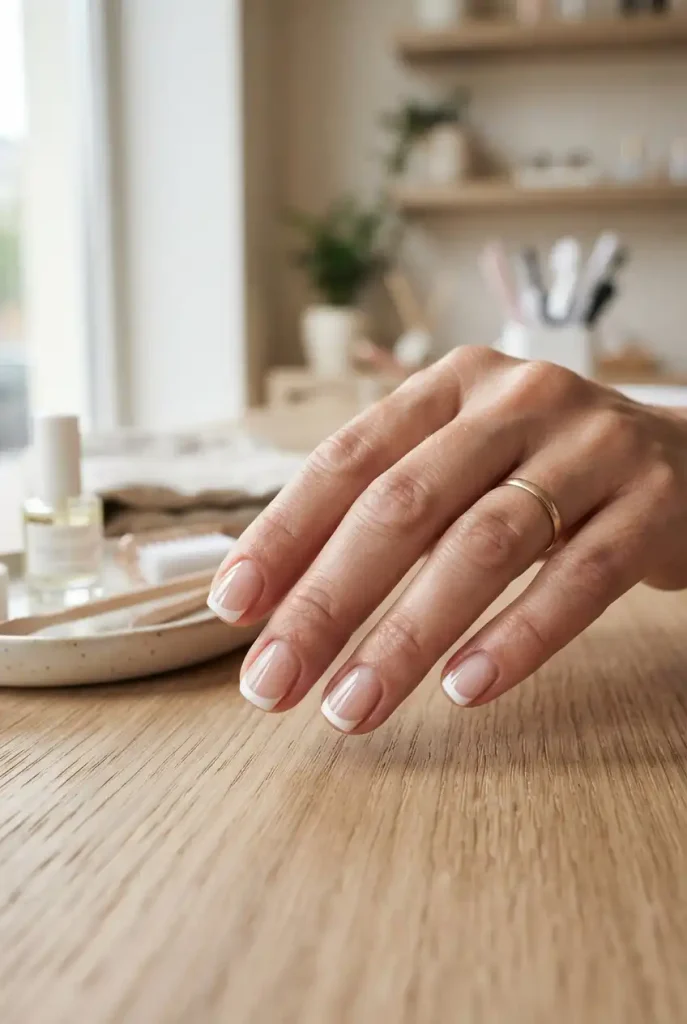
For a modern alternative, use a straighter horizontal tip rather than a pronounced smile curve. This works particularly well with square and squoval nails.
Use a guide for the cleanest result, then carefully fill the exposed edge with your chosen color.
Try Colorful French Tips

White isn’t the only option. Replace it with pastel pink, lavender, blue, green, or another favorite shade while keeping the base neutral.
For a coordinated manicure, use one color on every nail. For a playful version, alternate complementary colors across the fingertips.
Make Black French Tips

Black French tips create stronger contrast while using exactly the same basic technique as a traditional French manicure.
Pair the dark tips with a translucent nude base for a clean look. A glossy top coat can make the black edge appear especially crisp.
Try Double French Tips

Double French tips feature two narrow lines instead of one. Use a neutral base and create a white line near the edge followed by a second complementary line slightly below it.
Leave enough space between the two curves so the design doesn’t become visually crowded.
Add Glitter to the French Tips

A glitter French tip adds sparkle without requiring a complicated design. Paint the tip in a fine glitter polish or apply glitter over a traditional white edge.
Keep the base simple so the glitter remains the focal point.
Create a Matte French Manicure

A matte top coat can change the character of a simple French manicure. Apply it carefully over the finished design and allow the surface to dry according to the product instructions.
For contrast, you can leave the French tip glossy while making the base matte.
Try Metallic French Tips

Metallic gold or silver tips provide a dressier interpretation of the classic manicure. A fine brush works well for applying metallic polish precisely along the free edge.
Use a neutral base to prevent the metallic color from competing with the rest of the manicure.
Make Rainbow French Tips

Rainbow French tips let each nail feature a different color while maintaining the same basic shape. Choose shades with similar intensity so the manicure feels cohesive.
Pastels create a soft look, while brighter colors make the design more playful.
Draw Diagonal French Tips
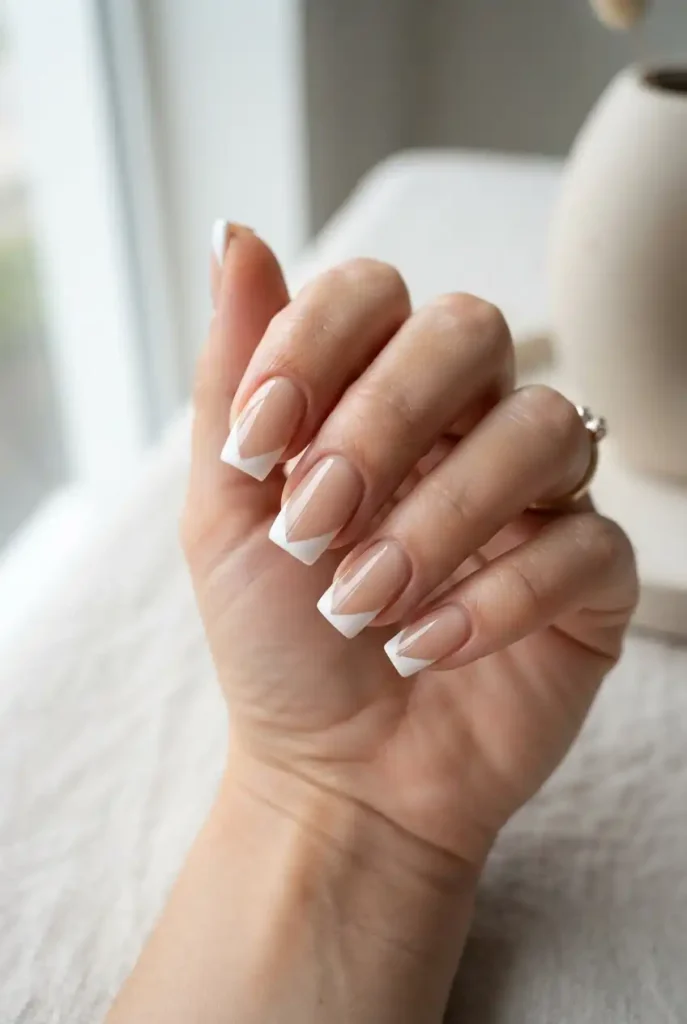
A diagonal French tip crosses the nail at an angle instead of following a traditional smile curve. It’s a useful option when you want something graphic but still relatively simple.
Keep the angle consistent across the manicure, or alternate the direction for an intentionally asymmetrical design.
Add Tiny Dots Along the French Tip
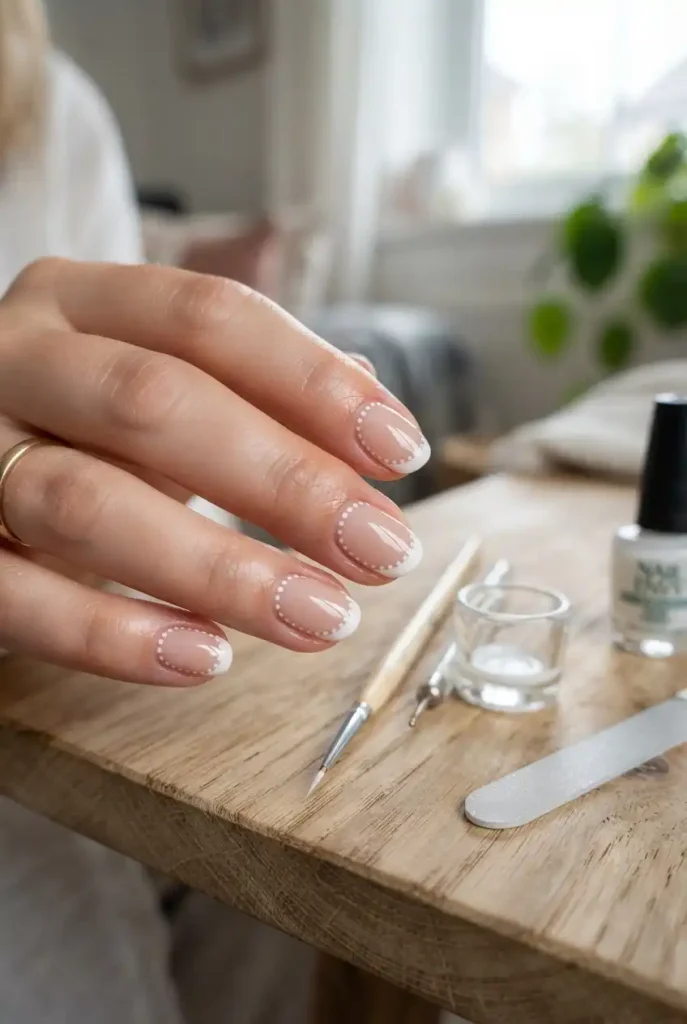
Once you’ve created a basic French tip, tiny dots can add a decorative border. Use a dotting tool or the end of a fine tool to place evenly spaced dots along the lower edge of the French tip.
Use the same color for a subtle look or a contrasting shade for more definition.
Try a French Tip With a Nude-on-Nude Contrast
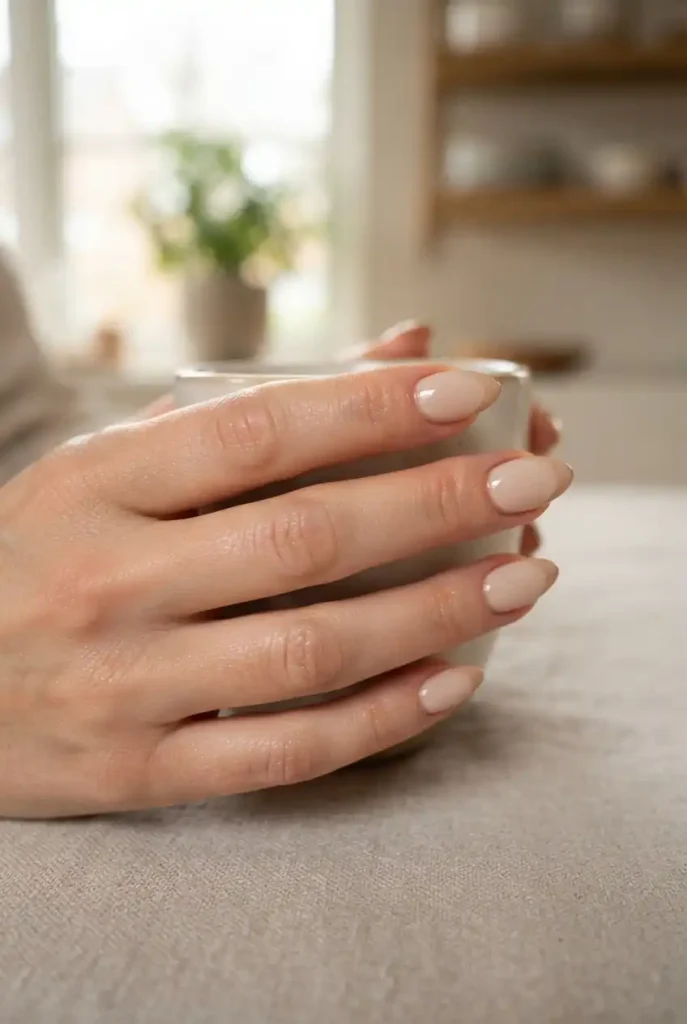
A French tip doesn’t always need a dramatic color difference. Use two nearby nude shades, such as a sheer beige base and a slightly deeper beige tip.
The result is subtle and easy to wear while still showing the classic French manicure structure.
Use a French Tip Stamp or Stencil

French-tip stamping tools and reusable stencils can help create consistent curves without relying completely on freehand painting.
Apply polish to the tool or stencil according to its design, transfer it carefully, and clean up the edges with a small brush dipped in suitable polish remover if necessary.
Finish With a Clean Glossy Top Coat

After you’ve mastered your preferred French tip technique, finish the manicure with a clear top coat. Apply it carefully from the base toward the tip without repeatedly brushing the same area.
A smooth glossy finish can unify the base and tip and make small differences between nails less noticeable. Give the manicure adequate time to dry before using your hands normally.
Tips for Drawing Cleaner French Tips at Home
A good French manicure depends more on control than speed. Keep these simple habits in mind while practicing:
- Prepare the nails first: Clean the nail surface and shape the edges before applying polish.
- Use thin layers: Too much polish makes precise lines harder to control.
- Stabilize your hand: Rest your painting hand on a table or another stable surface.
- Work nail by nail: Finish one tip before moving on if that helps you maintain consistency.
- Keep cleanup tools nearby: A small detail brush can help sharpen uneven edges.
- Don’t chase perfection: Small differences between nails are normal with hand-painted designs.
- Let layers dry: Rushing between coats can cause smudging and uneven edges.
- Practice on paper first: You can practice smile-line shapes with polish on a smooth surface before painting your nails.
Choosing the Best French Tip Method for Beginners
If you’re completely new to nail art, start with nail tip guides, stencils, or the dotting-tool method. These approaches reduce the amount of freehand precision required.
Once you become comfortable with the basic shape, switch to a thin nail-art brush. Freehand painting gives you more flexibility because you can adjust the depth, width, and curve of the tip to suit different nail lengths and shapes.
For short nails, micro or narrow French tips are usually a practical starting point. Longer nails give you more room to experiment with deep, diagonal, double, metallic, or colorful designs.